


Okay, folks, let’s dive into how I tackled cooking a tri-tip in my air fryer. I’ve gotta say, I was a bit skeptical at first, but it turned out pretty darn good!
First things first, I grabbed my tri-tip from the fridge. It was about 2.5 pounds, which is a decent size for my family. I patted it dry with some paper towels – this is key for getting a nice crust.
Getting Started
Next up, the seasoning. I’m a simple guy, so I went with a mix of salt, pepper, garlic powder, and onion powder. I made sure to really rub that seasoning all over the tri-tip, getting into every nook and cranny.
Then added a little paprika and some dried rosemary.
Air Frying time!
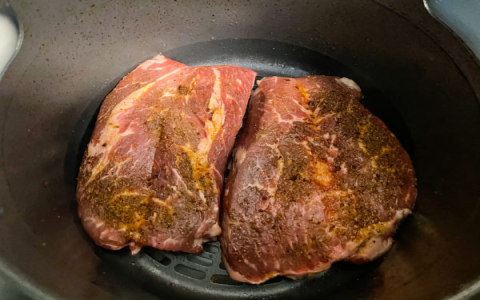
I preheated my air fryer to 400°F. Some people like it lower, but I like to start a bit high, for about 5 minutes.
Once it was hot, I placed the tri-tip in the air fryer basket. I didn’t want to overcrowd, making sure the air could circulate properly. The first time, I put in and cooked it for about 15 minutes.
After that, I flipped the tri-tip and cooked it for another 10-12 minutes. To be extra safe, use a meat thermometer! I was aiming for medium-rare, which is around 135°F in the thickest part.
Rest and Serve
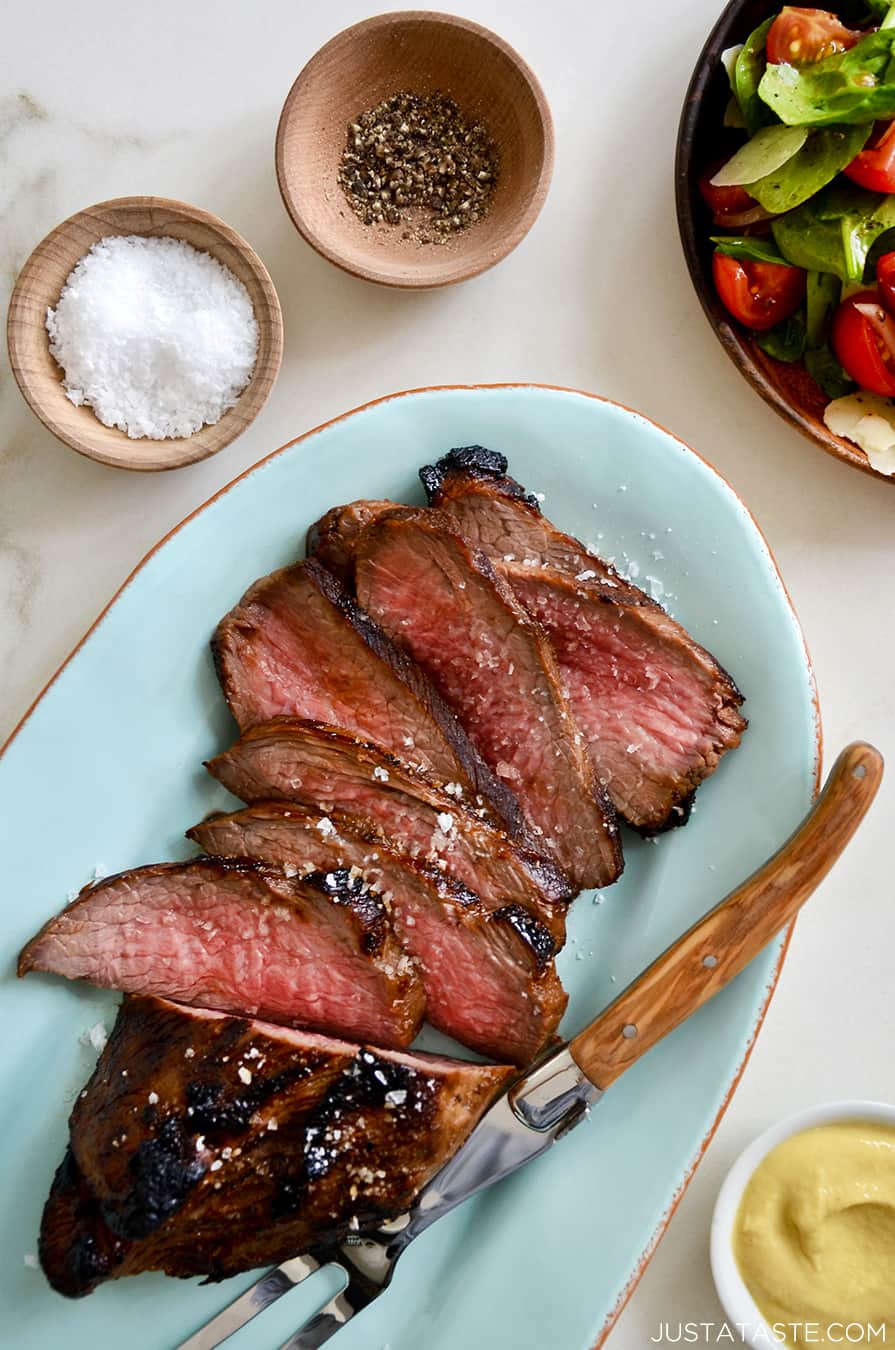
Once it hit that temperature, I took the tri-tip out of the air fryer and let it rest on a cutting board for about 10 minutes. This is important, don’t skip it! It lets the juices redistribute, so you don’t lose all that goodness when you slice it.
Finally, I sliced the tri-tip against the grain. And that was it! Super easy, and surprisingly delicious. The air fryer gave it a nice crust on the outside, while keeping the inside tender and juicy.
- Get your tri-tip.
- Season it up.
- Preheat that air fryer.
- Cook, flip, cook some more.
- Rest it!
- Slice and enjoy!
Give it a try, and let me know how it goes!


