


Okay, folks, let’s talk about making tri-tip in the air fryer. I’ve been experimenting with this, and I think I’ve finally cracked the code to get it just right.
First, I grabbed my tri-tip from the fridge. It was about 2 pounds, give or take. I let it sit out for about 30 minutes, just to take the chill off. You don’t want to throw a freezing cold piece of meat into the air fryer – it won’t cook evenly.
Next up, the seasoning. I’m a simple guy, so I just went with salt, pepper, garlic powder, and a little bit of onion powder. I rubbed that all over the tri-tip, making sure to get into every nook and cranny.
Getting the Air Fryer Ready
I preheated my air fryer to 400 degrees Fahrenheit. While that was warming up, I put the tri-tip in the air fryer basket. Make sure it’s not overcrowded – you want the air to circulate around the meat.
Cook Time!
Now, this is where it gets a little tricky, and where I messed up a couple of times before getting it just right. I found that for a medium-rare tri-tip, you want to cook it for about 10 minutes on the first side.
- Flip it over, and cook for another 8-10 minutes.
I am using my meat thermometer, I pulled it out when it hit around 130-135 degrees Fahrenheit internally.
After it cook done, Let it Rest. Take the tri-tip out of the air fryer and let it rest on a cutting board for about 10 minutes. This is SUPER important, so don’t skip it! It lets the juices redistribute, making for a much more tender and flavorful steak.
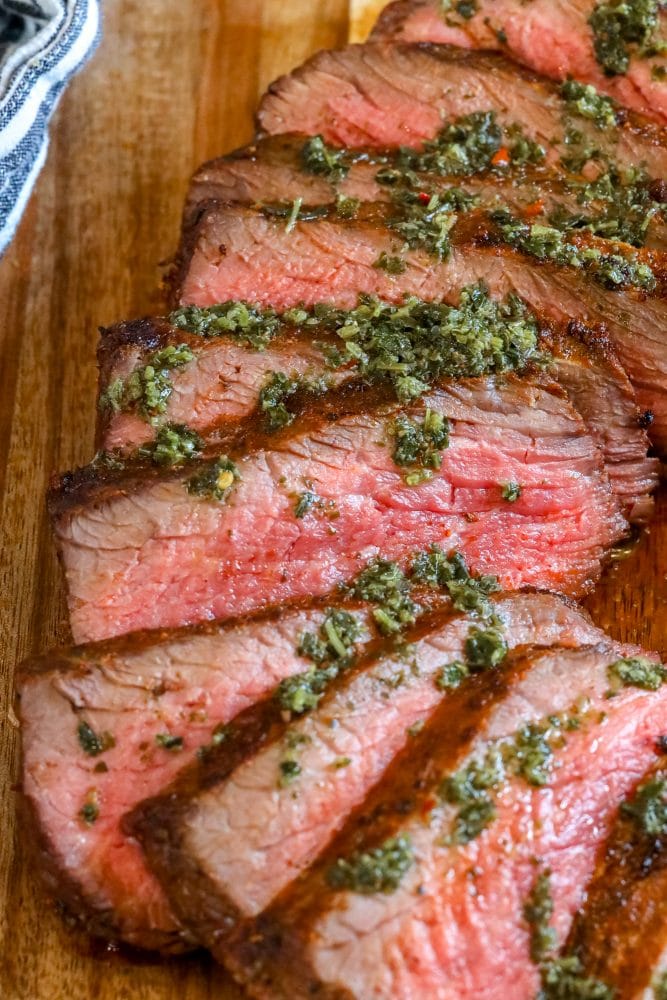
Finally, Slice and Serve. Slicing a tri-tip the right way will make eat bite that much better. I like to slice it against the grain, and it’s ready to go! You can serve it with whatever sides you like. I had mine with some roasted potatoes and a salad.
And it is all done! That is all what I did today!


