


Alright, let’s talk about cooking a tri-tip. I had this big chunk of meat and was scratching my head about how to cook it right. It had this fat cap, and I was thinking, “Fat side up or down?” So, I jumped into action.
First, I grabbed the tri-tip from the fridge. I let it sit out for a bit – you know, to get it closer to room temperature. Then I started preheating my oven. I set it to a low temperature, around 250 degrees.
- Got the tri-tip out
- Preheated oven to 250
- Seasoned the meat
While the oven was heating up, I seasoned the heck out of that tri-tip. Salt, pepper, garlic powder – the works. I made sure to get all sides, even the fatty one. Then, I heated up some oil in my cast iron skillet. It’s important to get that pan nice and hot. Once it was smoking a little, I placed the tri-tip in, fat side down.
Here’s where things got interesting. I seared it for a few minutes on each side. The fat started rendering out, and it smelled amazing. After searing, I stuck a meat thermometer in the thickest part of the tri-tip.
- Seared fat side down
- Used a meat thermometer
I then popped the whole skillet into the oven. I kept an eye on the thermometer, waiting for it to hit that magic number: 135 degrees for medium-rare. It took a while, but that’s the low and slow method for you.
The Results
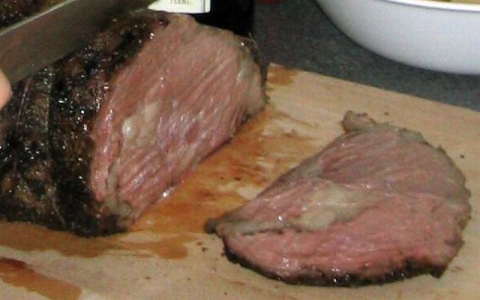
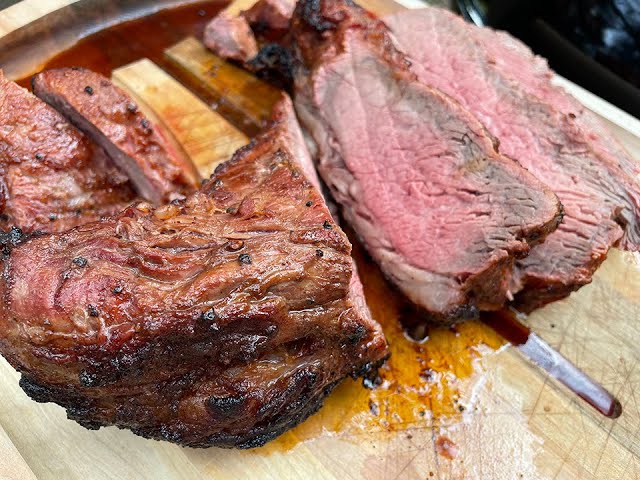
When the thermometer finally read 135, I took the tri-tip out of the oven. I let it rest on a cutting board, loosely tented with foil. This resting part is super important, so don’t skip it! After about 10 minutes, I sliced it up against the grain.
And let me tell you, it was juicy, tender, and full of flavor. Cooking it fat side down in the pan first really helped render that fat and distribute the heat evenly. From now on, it’s fat side down first for me when it comes to tri-tip. Give it a try, you won’t regret it!


