


Okay, folks, let’s talk about how I finally nailed cooking a tri-tip roast in my air fryer. It took a few tries, but I’ve got it down to a science now, and I’m here to share the messy, delicious journey.
First off, I grabbed a tri-tip roast from the store – mine was about 2.5 pounds. I unwrapped that bad boy and patted it dry with some paper towels. Gotta get rid of that extra moisture, you know?
Next up, the seasoning. I’m a simple guy, so I mixed together some salt, pepper, garlic powder, and onion powder in a small bowl. I like a good crust, I rubbed that mixture ALL over the tri-tip. Don’t be shy with it!
The Air Fryer Adventure Begins
I preheated my air fryer to 400°F. While that was warming up, I placed the seasoned tri-tip roast in a bowl and make it ready.
I put my meat in and flipped the tri-tip and cooked it for another 5-10 minutes, just until it got a nice, brown crust on all sides.
After that, it was time to check the internal temperature. I stuck my meat thermometer into the thickest part of the roast, I pullled it out.
- For medium-rare (which is how I like it): 130-135°F.
- For medium: 135-145°F.
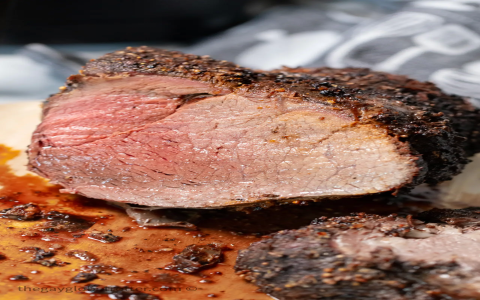
Once it hit my desired temperature, I carefully removed the tri-tip from the air fryer and placed on a cutting board. This is important: I let it rest for about 10 minutes, loosely covered with foil. This lets the juices redistribute, so you don’t lose all that goodness when you slice it.
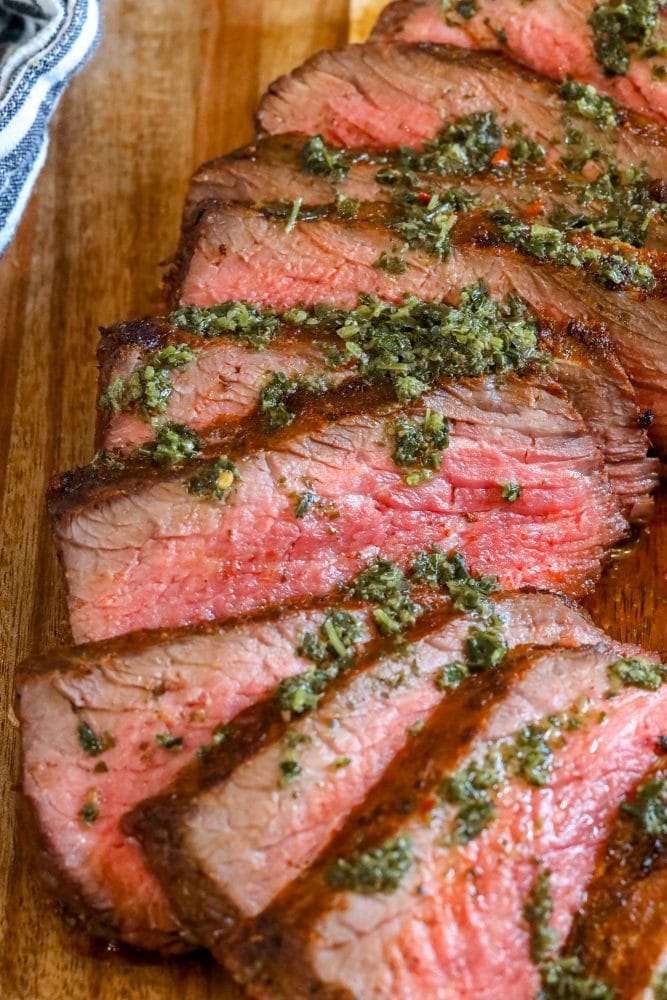
Finally, I sliced the tri-tip against the grain and, oh man, was it good! Juicy, flavorful, and perfectly cooked. The air fryer really does a great job of getting that nice crust on the outside while keeping the inside tender.
So, that’s my tri-tip air fryer story. It might take a little practice, but trust me, it’s worth it. Give it a shot, and let me know how it goes!


