


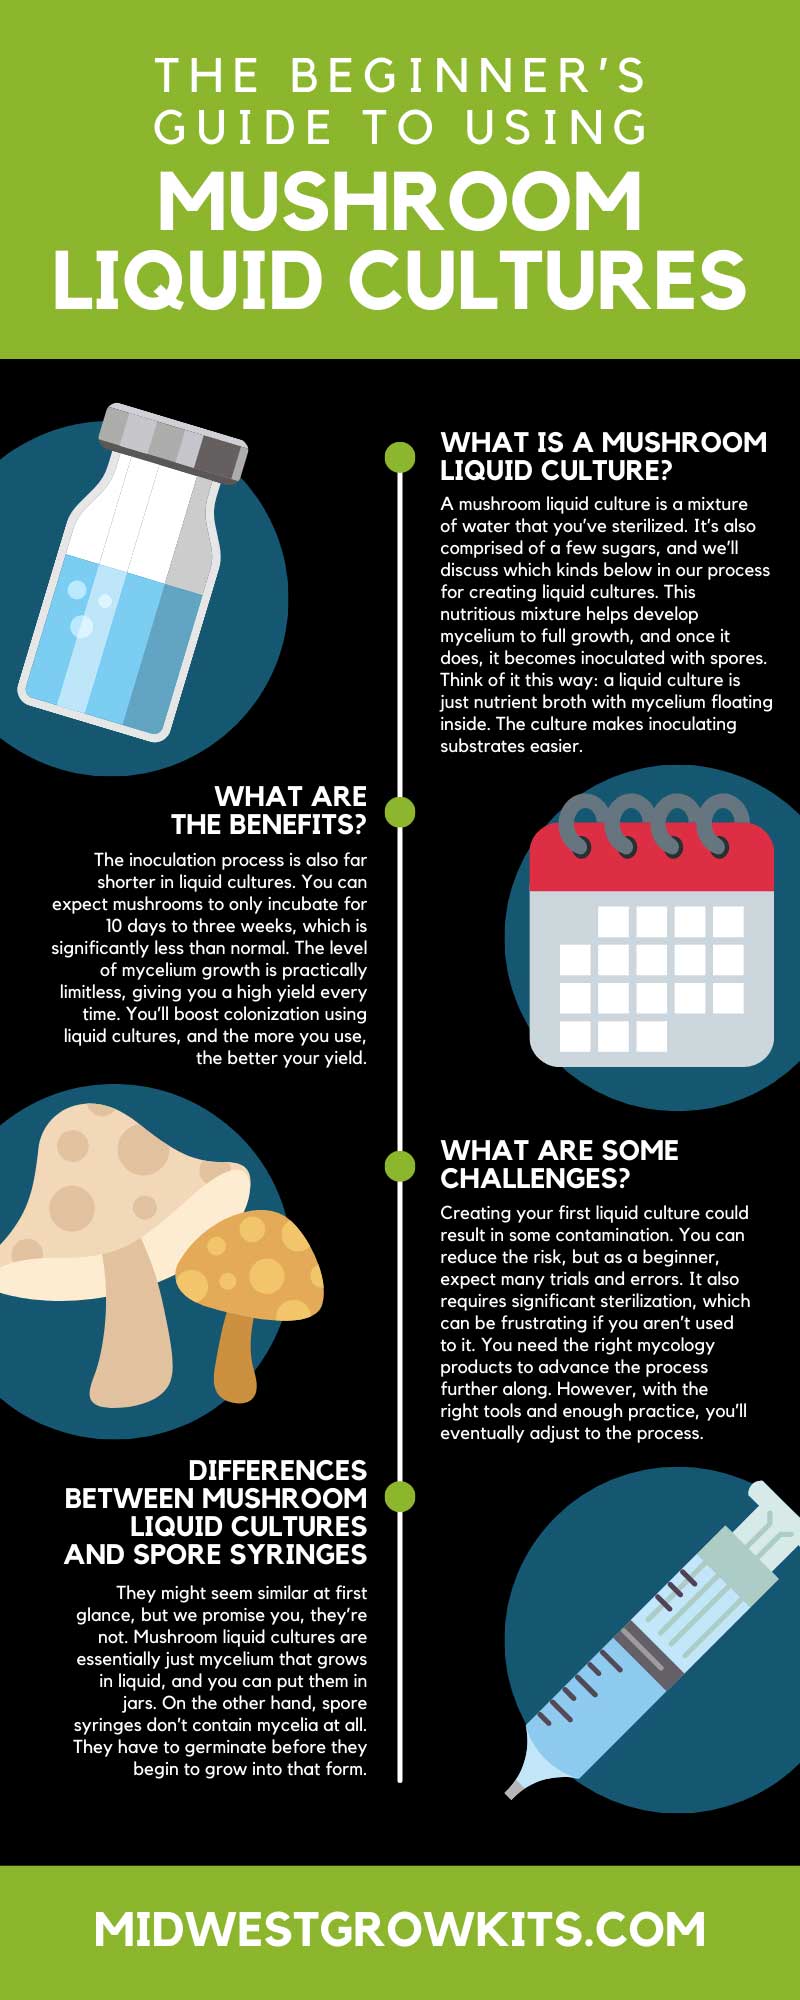
Okay, let’s talk about making mushroom liquid cultures. I recently started getting into growing mushrooms at home, and let me tell you, it’s been quite a journey. One of the things I’ve been experimenting with is making my own liquid cultures, and I want to share what I’ve learned so far.
So, first off, what’s a liquid culture? Basically, it’s a mix of water and some kind of sugar that you use to grow mycelium, which is like the root system of mushrooms. You use this liquid culture to grow your mycelium. The first thing I did was gather all my supplies. You’ll need some jars, lids with holes for air exchange, water, and some form of sugar, like light malt extract or honey. I went with honey because it’s what I had on hand.
Making the Broth
I started by making the nutrient broth. I mixed distilled water with a bit of honey. I read online that a 4% solution is a good starting point, so I aimed for that. Basically, for every 100ml of water, I added about 4 grams of honey. I just eyeballed it, to be honest. Once it was all mixed up, I poured the mixture into my jars, filling them about three-quarters full. Make sure you leave some space at the top. I then screwed on the lids, but not too tight, because you need some airflow.
Sterilizing Everything
Next up, sterilization. This is super important because you don’t want any nasty bacteria or other contaminants messing up your culture. I used a pressure cooker for this. I put my jars in the pressure cooker, making sure they weren’t touching the bottom. I added some water to the cooker, closed it up, and let it do its thing for about 30 minutes at 15 PSI. Safety first, so I let the pressure cooker cool down completely before opening it.
Inoculation Time
Once everything was sterilized and cooled, it was time to inoculate. This is where you introduce the mushroom spores or a piece of mycelium to the liquid. I used a spore syringe that I got online. In a still air box, to minimize contamination, I carefully injected a small amount of the spore solution into each jar. Make sure you’ve sterilized the needle with a flame before using it.
Waiting Game
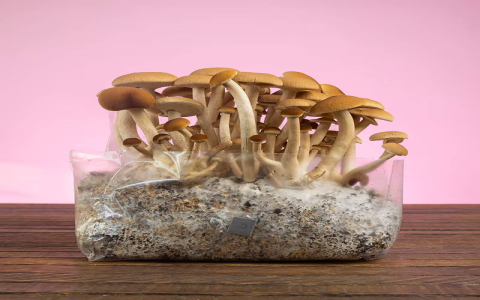
After inoculating, I put the jars in a dark, room-temperature place. Then, it’s just a waiting game. Over the next few weeks, I kept an eye on the jars. Slowly but surely, I started to see mycelium growing. It looks like white, fluffy clouds in the liquid. It’s pretty cool to watch it develop. There were a couple of times when I saw some cloudy liquid and no growth after a few days, which probably meant bacterial contamination. Those jars I had to toss out. Luckily, most of my jars showed healthy mycelium growth.
Using the Liquid Culture
Once the mycelium had grown enough, I had a fully developed liquid culture. I’ve heard some folks try to add this directly to their substrate, but I’ve also heard that the chances of failure are higher. The main thing is I use the liquid culture to inoculate grains, which then go on to colonize the substrate. I won’t get into that process here, but basically, you inject some of the liquid culture into sterilized grain jars or bags, and the mycelium will spread throughout the grain. It’s much faster and more reliable than using spores directly on the substrate.
So that’s my experience with making mushroom liquid cultures. It’s been a fun and rewarding process. There’s definitely a learning curve, and not every batch will be successful. But when it works, it’s a great way to speed up your mushroom growing. Plus, it’s kind of cool to watch the mycelium grow from just a few spores. If you’re thinking about getting into mushroom cultivation, I definitely recommend giving liquid cultures a try!


