


Okay, here is my sharing about building an indoor small wood stove:
I have always wanted to get a small wood stove for my cabin. It just seemed like the perfect thing to make it extra cozy. Plus, I figured it would help save on heating bills. After searching around, I decided to just go for it and build one myself. Let me tell you, it was quite the project, but so worth it in the end!
Gathering Supplies
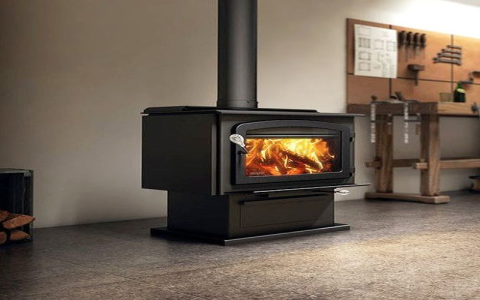
First, I had to get all the materials together. I needed the actual stove, which I found an affordable one online. It was a perfect small size and just what I needed. They have a few different versions. For example, certified with brass features, certified with black features, non-certified with brass features, and non-certified with black features. These are the different prices for different versions. You know, I chose what I needed based on my budget. The measurements were 13” W x 15” H x 12” D. It’s small and perfect for me! Then, I needed to find fuel. I just need wood for fuel. I also needed to grab some heat-resistant paint, stove pipes, and a few other random tools. I made a list and checked it twice before heading to the hardware store. It’s important to ensure you have what you need. I got a list, which contains what I need to prepare.
- Small wood stove
- Wood for fuel
- Heat-resistant paint
- Stove pipes
- Other tools
Prepping the Area
With all my supplies ready, I started prepping the area where the stove would go. I wanted to make sure that I had enough room for it. I decided to put it in the corner of my cabin’s living room, but I needed to put down a fireproof base. I used some concrete board and tiles to create a safe platform. It was a bit of heavy lifting, but I managed to get it all in place. I just wanted it to look good and be safe, you know?
Assembling the Stove
Next up was actually putting the stove together. The instructions were pretty clear, thankfully. I laid out all the parts and started connecting them. The body of the stove came in a few main pieces, and it was pretty straightforward to bolt them together. This part was kind of fun, actually seeing it take shape. The important thing is to make sure every part is tightly put together. Otherwise, it will be dangerous.
Installing the Stove Pipe
Then came the tricky part: installing the stove pipe. This was crucial to make sure the smoke would go up and out of the cabin instead of into it. You know, safety first! I had to cut a hole in the roof, which was a bit nerve-wracking. I measured like five times to make sure I got it right. Then, I carefully fed the pipe through the hole and sealed it up tight with some high-heat sealant. I double-checked everything to make sure there were no gaps.
Painting and Finishing Touches
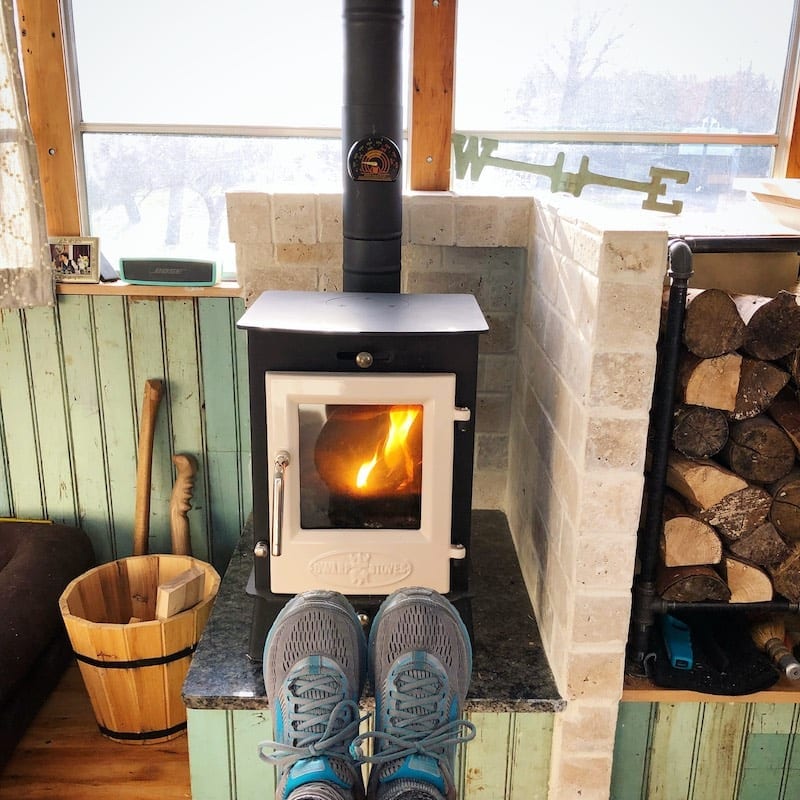
Once the stove and pipe were in place, I gave the whole thing a coat of heat-resistant paint. I went with a classic black color, and it looked really sharp. I also added a small metal plate behind the stove to protect the wall from getting too hot. I need to make sure it’s safe and looks good, right? After the paint dried, it was time for the moment of truth.
First Fire
Finally, I built a small fire inside the stove. I used some dry kindling and small pieces of wood, just like the instructions said. It took a bit to get going, but soon enough, there was a nice little fire crackling away. I watched it carefully, making sure the smoke was going up the pipe like it should. The warmth started to spread through the cabin, and it felt amazing.
Honestly, building this small wood stove was one of the most satisfying DIY projects I’ve ever done. It took some time and effort, but now I have a cozy, efficient heat source for my cabin. Plus, it just looks awesome! Now, I can save my money and live a green life! If you’re thinking about adding a wood stove to your place, I say go for it. Just make sure to do your research, take your time, and be safe. Happy building!


