


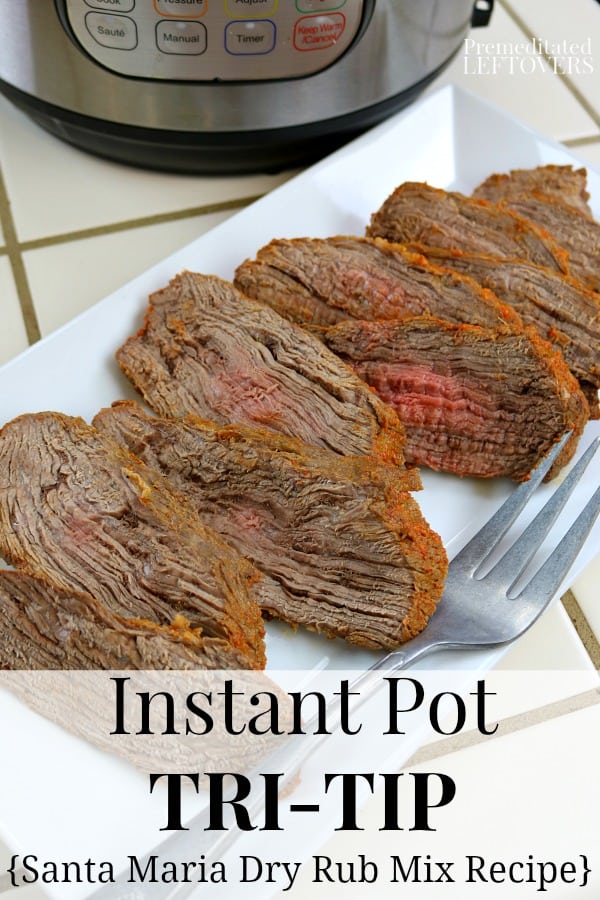
Okay, folks, let’s talk about tri-tip. I’ve always been a fan of this cut – it’s flavorful, relatively affordable, and perfect for a weekend meal. But I used to find it a bit intimidating to cook. I mean, get it wrong, and you’ve got a tough, chewy piece of meat. Not exactly the dinner party centerpiece you were hoping for. Then I got my hands on a pressure cooker, and let me tell you, it’s a game changer. I tried it once and then I tried it over and over again to make sure I had it down!
So, the first time, I just threw the tri-tip in there with some water and hoped for the best. It was… okay. Edible, but nothing to write home about. That’s when I started experimenting, just like any good home cook would. I watched some YouTube videos, read a few things, and most importantly, I just kept trying until I got it perfect for my taste. Here’s the method that I finally got down to a science and worked for me:
Get the Meat Ready
First things first, I grabbed a nice tri-tip roast from the store, around 2-3 pounds. I patted it dry with paper towels – this is key for getting a good sear. Then, I mixed up a simple rub. Nothing fancy, just salt, pepper, garlic powder, onion powder, and a little paprika for color. I rubbed that mixture all over the tri-tip, making sure to get every nook and cranny. This part is messy but it is fun, I can even ask my kids to join!
Sear That Baby Up
Next, I heated up a tablespoon of olive oil in my pressure cooker on the “sauté” setting. Once it was nice and hot, I placed the tri-tip in there and seared it for about 3-4 minutes per side. You want a nice, brown crust – that’s where the flavor is! I used tongs to flip it and get all the sides. It was so satisfying to see it getting a nice crust on every side. I could just smell the roast, the kitchen smelled amazing.
Pressure Cooker Time
After searing, I took the tri-tip out and set it aside for a minute. I poured a cup of beef broth into the pressure cooker and used a wooden spoon to scrape up any brown bits stuck to the bottom. That’s called deglazing, and it adds a ton of flavor to the sauce. I was starting to figure this out! Then, I placed a trivet in the cooker and put the tri-tip on top of it. I did this so that it wouldn’t sit in the liquid and get overcooked. Then I locked the lid on, made sure the valve was set to “sealing,” and cooked it on high pressure for about 25 minutes.
The Big Reveal
Once the time was up, I let the pressure release naturally for about 10 minutes. Then, I carefully released any remaining pressure using the quick-release valve. I opened the lid, and there it was – a perfectly cooked, juicy tri-tip. It looked amazing, I was happy and so were my kids. They were so impatient and I was the hero of the day!
Make it Fancy
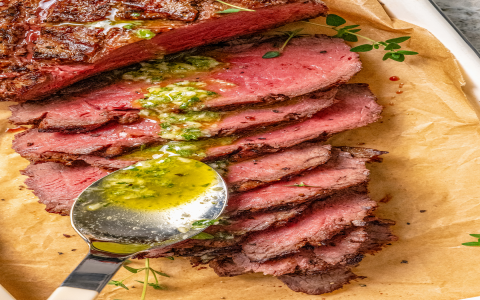
I took the tri-tip out of the cooker, tent it with foil, and let it rest for about 10 minutes. This is important because it allows the juices to redistribute, making the meat even more tender. While it was resting, I skimmed off some of the fat from the cooking liquid and simmered it on the “sauté” setting until it thickened into a delicious sauce. I was impressed that I could make a sauce out of it!
Final Steps
Finally, I sliced the tri-tip against the grain and served it with the sauce. I like to pair it with roasted vegetables or mashed potatoes, but you do you. It was a masterpiece of a meal. I could feel a sense of accomplishment from cooking this.
And that’s it! My tried and true method for making a killer tri-tip in the pressure cooker. It took a few tries to get it right, but now it’s a regular in my dinner rotation. It’s easy, it’s delicious, and it’s sure to impress your family and friends. Give it a shot, and let me know how it goes!


